 |
| Although we don't claim to understand it, a cat that has installed itself in a cardboard box is a happy cat. You can exploit this mysterious fact to make a your own simple corrugated cardboard cat bed like this one, designed as a kitty-sizedchaise lounge. Since it's just cardboard, it's also easy to modify this basic design to suit your own (or your cat's) taste. |
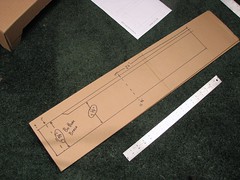
| There are already a bunch of high-end cardboard cat bed setups out there in shops , as well as other designs and even chaise lounges. So why bother? We are again motivated by the fact that cats like cardboard boxes. This chaise lounge is arguably a big step up from a plain old cardboard box, while remaining much simpler to build (and much much less expensive) than those other cardboard examples. To do this project, you'll need (surprise!) some big sheets of cardboard, a hot glue gun, markers, scissors and/or a hobby knife, and a cutting mat or other surface where you can safely cut. You might want to start by downloading the 2-page PDF pattern:  The pattern has two pages. The first page has an actual size drawing of the foot of the cat bed, and a corresponding "tab" that will keep it in place. The second page has drawings of all of the parts at 25% scale, mainly for reference. If you happen to have a ginormous printer, you are welcome to print out the second page (at 400% scale) and trace the drawings directly onto the cardboard for a head start. (Or if you're making it for your dollhouse, scale down!) For the rest of us, we'll start by printing out the first page and cutting out a traceable pattern the size of the foot and the size of the tab. | |
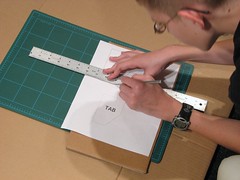 | 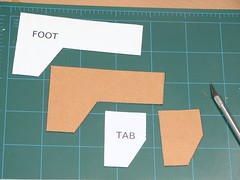 |
To make a more durable pattern for the foot, you can also trace the pattern directly onto cardboard to cut out a cardboard foot template (and one for the tab too). | |
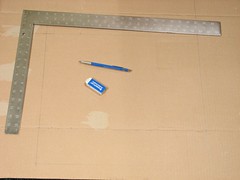 |  |
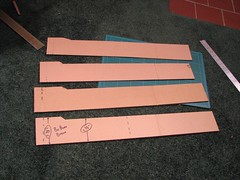
For the base you'll need a sheet of cardboard at least 20x26". (Folks outside the US: 1" = 1 inch, which is defined as exactly 2.54 cm.) Begin by drawing a rectangle 12x18" in the center of the sheet. Try to make the corners right angles. :) Next, use the foot pattern, eight times, to trace where the feet will go on the outside of your rectangle. Connect the lines between the two feet on the long side to make one continuous foot/side panel. 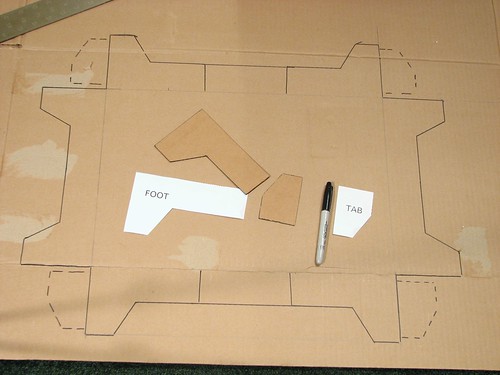 Next, add the tabs. Trace the tab pattern in four places as shown (the dashed lines): stuck to the middle part of the four feet on the long sides of the base. 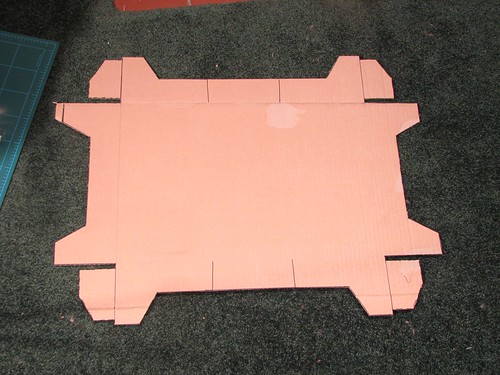 ... And cut it out. | |
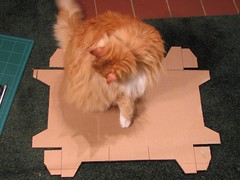 | Caution: Be careful not to stall at this stage of the construction, or your clients may start to get impatient. |
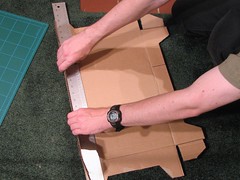 | 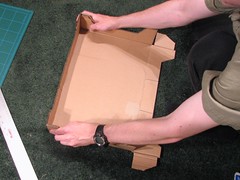 |
Use a straightedge to bend the cardboard at the lines and see how it fits together. The tabs should fit neatly underneath the feet on the short sides. 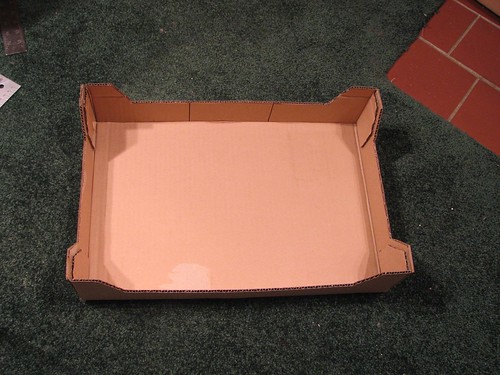 One corner at a time, apply hot glue to the tabs and use them to attach the two feet together. Be sure that you make a clean right-angle joint here so that the finished base is nice and strong. If your cardboard is weak or your cat is heavy, the base may not yet be strong enough. Our design includes an optional bottom brace that can make the base much stiffer and stronger. | |
 |  |
 The brace consists of two pieces each of two shapes of cardboard. Each piece is essentially a long rectangle with two folds. (See the PDF pattern for dimensions) The first fold is a 1" flap that glues to the inside corner of the box. The second fold helps to form an inner rectangle shape, where each piece has a large area where it can be glued to the next one. The shapes are not actually rectangles-- they are only full height at the edges. Towards the center, the braces can optionally have less height (sinking by 1/4" - 1/2") so that the top cardboard surface can gradually stretch and deform to make a nice concave surface for the cats. If possible cut out these braces with the grain of the cardboard (the corrugation) pointing perpendicular to the long direction. | |
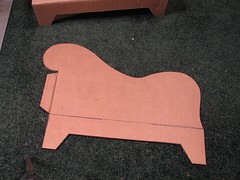 | 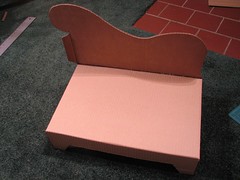 |
You can start the back panel by tracing the long side of the base onto a sheet of cardboard and improvising from there. This is your chance to be very creative with the design. After tracing where it meets the base, we just freehand drew the rest with a marker and added a flap on the left hand side to attach to the headboard. Again, we used the hot glue to attach bottom part of this panel to the base. 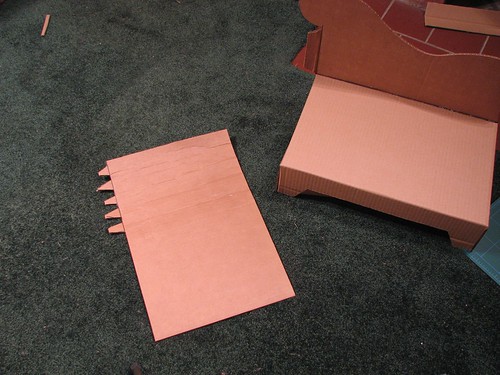 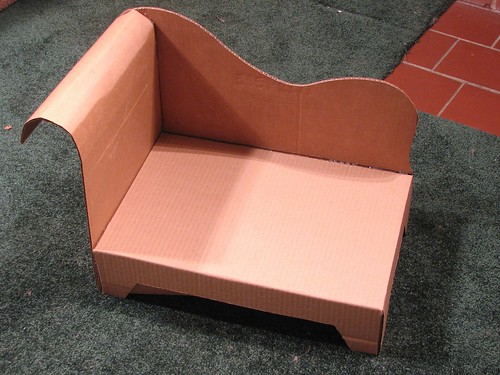 The headboard is also a good place to improvise. Start by tracing the narrow side of the base onto a new sheet of cardboard. For ours, we crinkled the top of the cardboard so we could make it curve, and added several tabs to the side so that it could be glued to the matching curved part of the back panel. 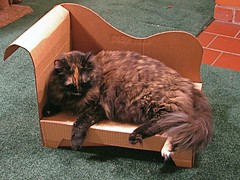 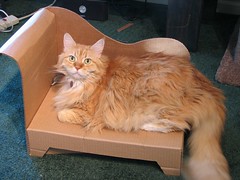 Garnish with catnip and you're done! Garnish with catnip and you're done!Serves one cat (at a time). | |
No comments:
Post a Comment